magazineArticles
Create Magazine Articles Pages
Note : To create content you need to login as AOK User. To create Magazine Articles content follow the steps,
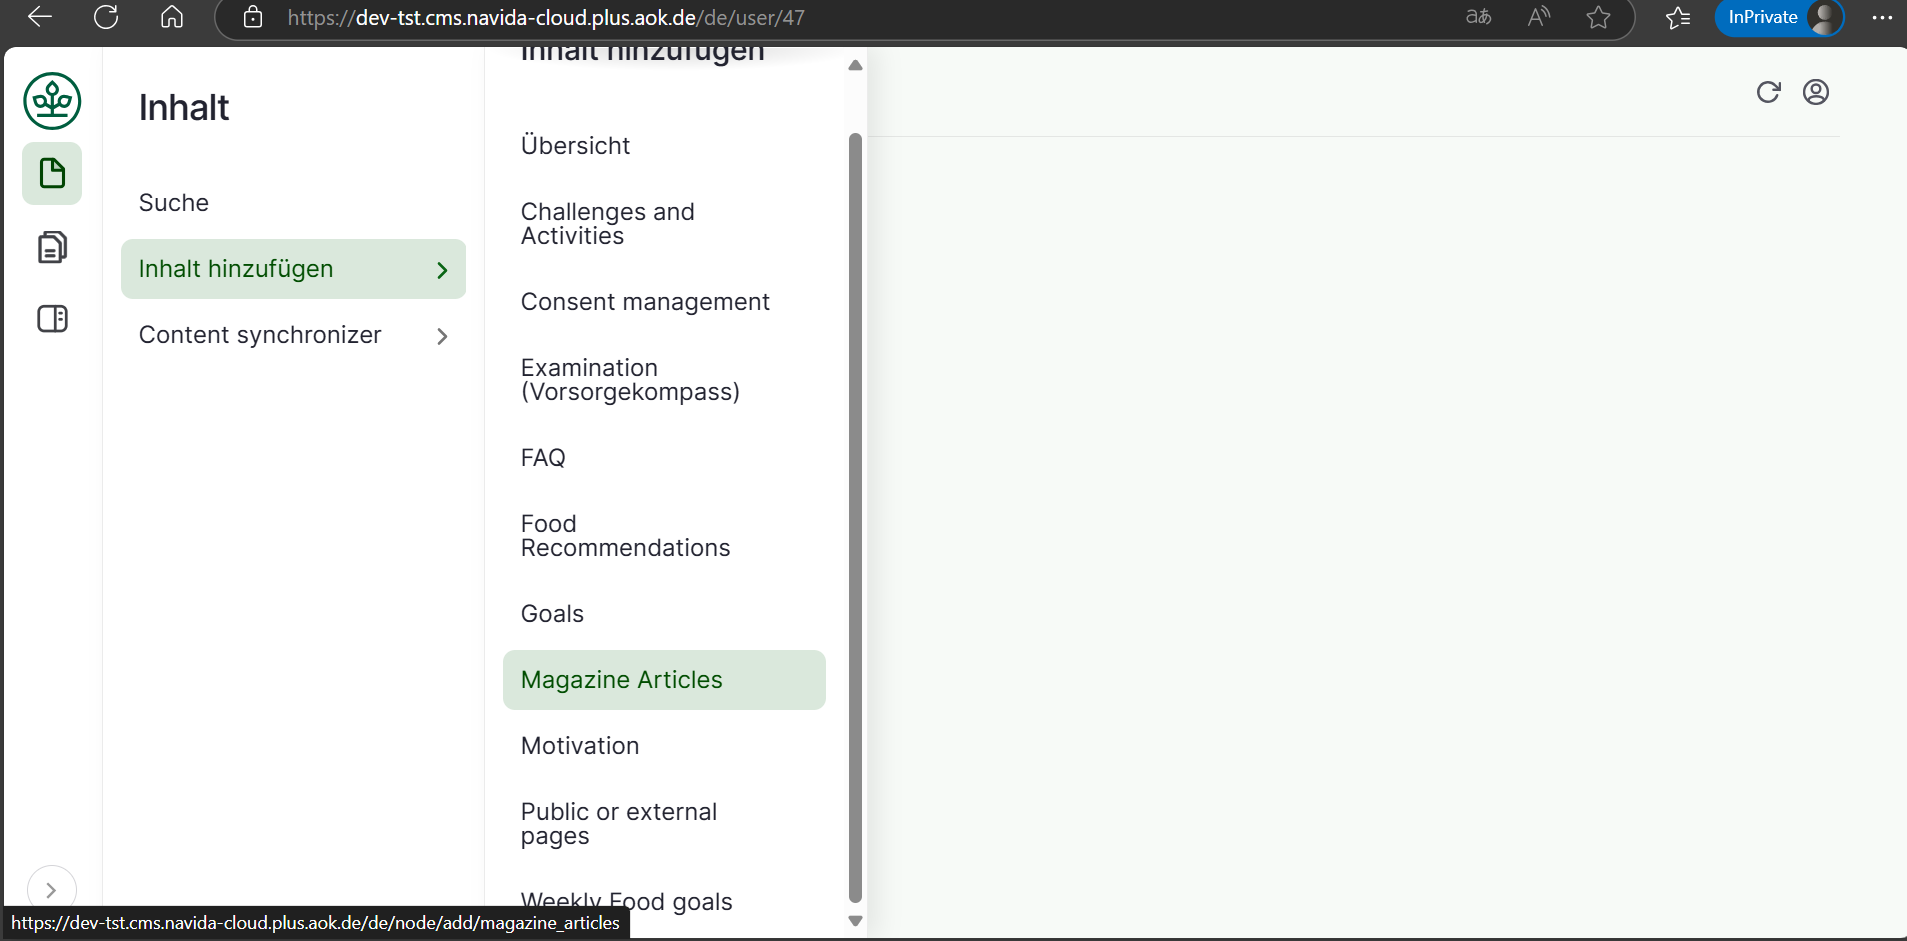
- Click on Inhalt(Content) -> Inhalt hinzufügen (Add Content) -> Magazine Articles
- Add Appropriate 'Title'.
- Select 'In use by AOK' To provide content editors with visibility which AOK is/are currently utilizing or displaying this particular article.
- Select 'Magazine Tags' it will be a filter based on Age
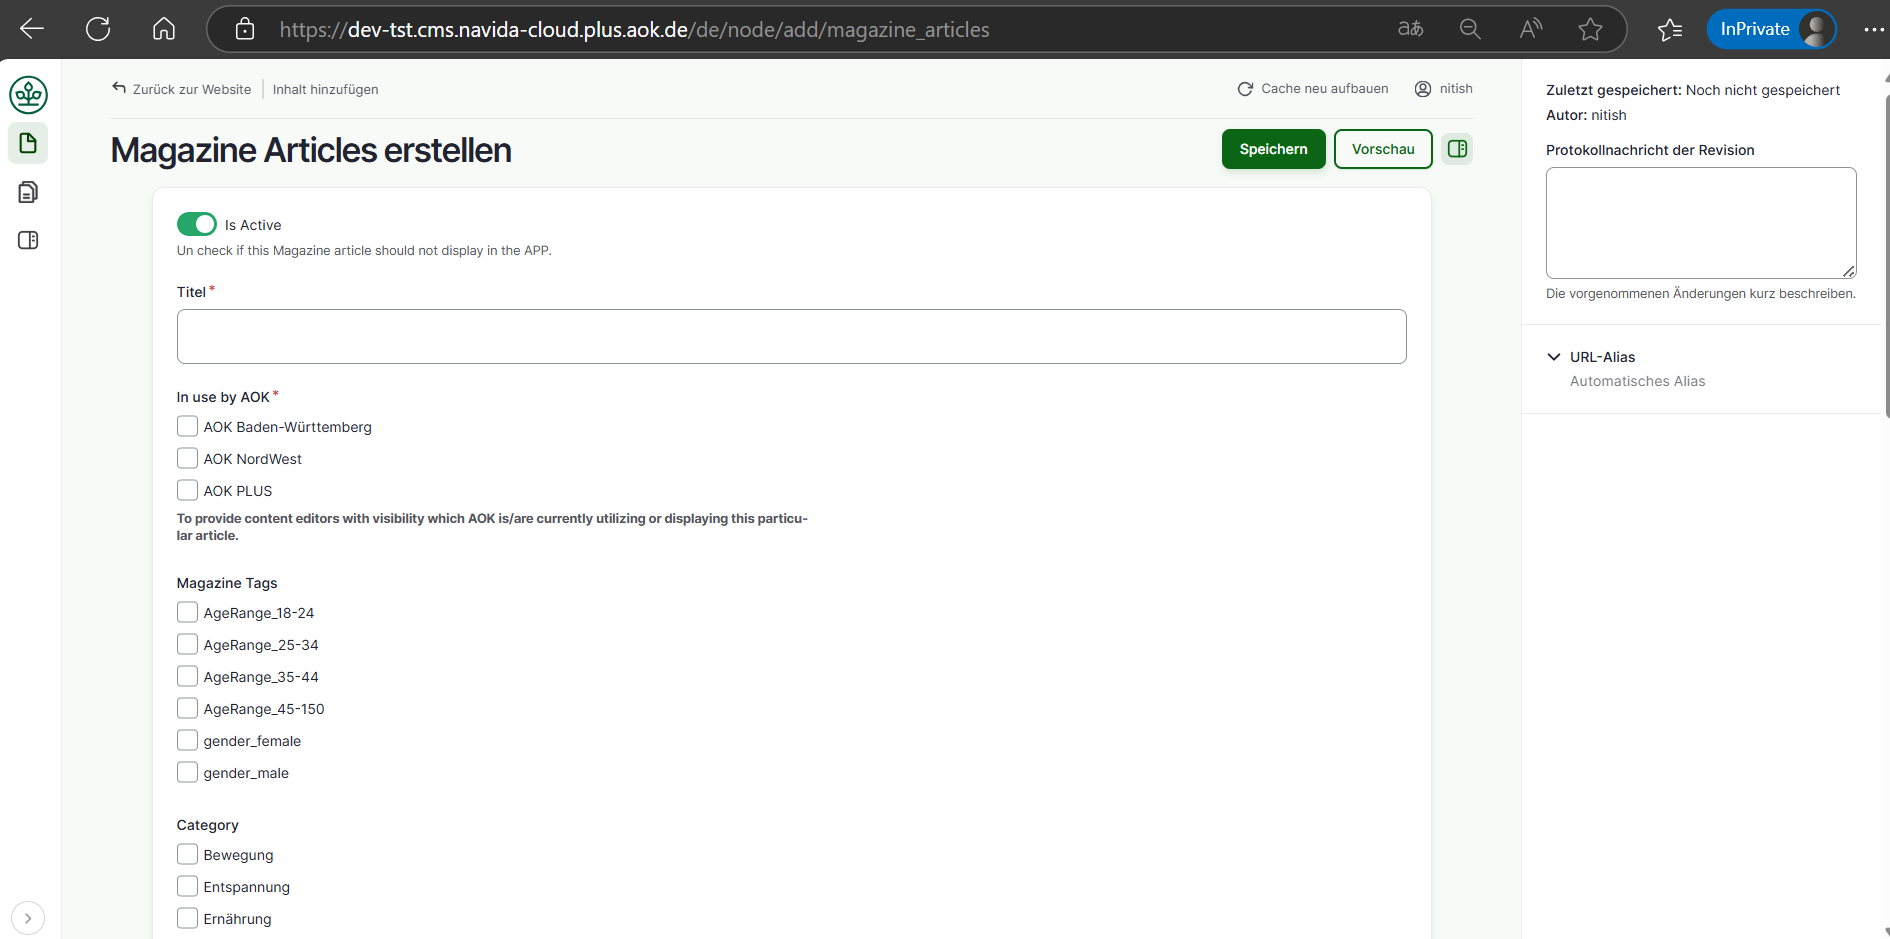
- Select 'Category', these categories will be assigned to the articles and used to filter the articles list.
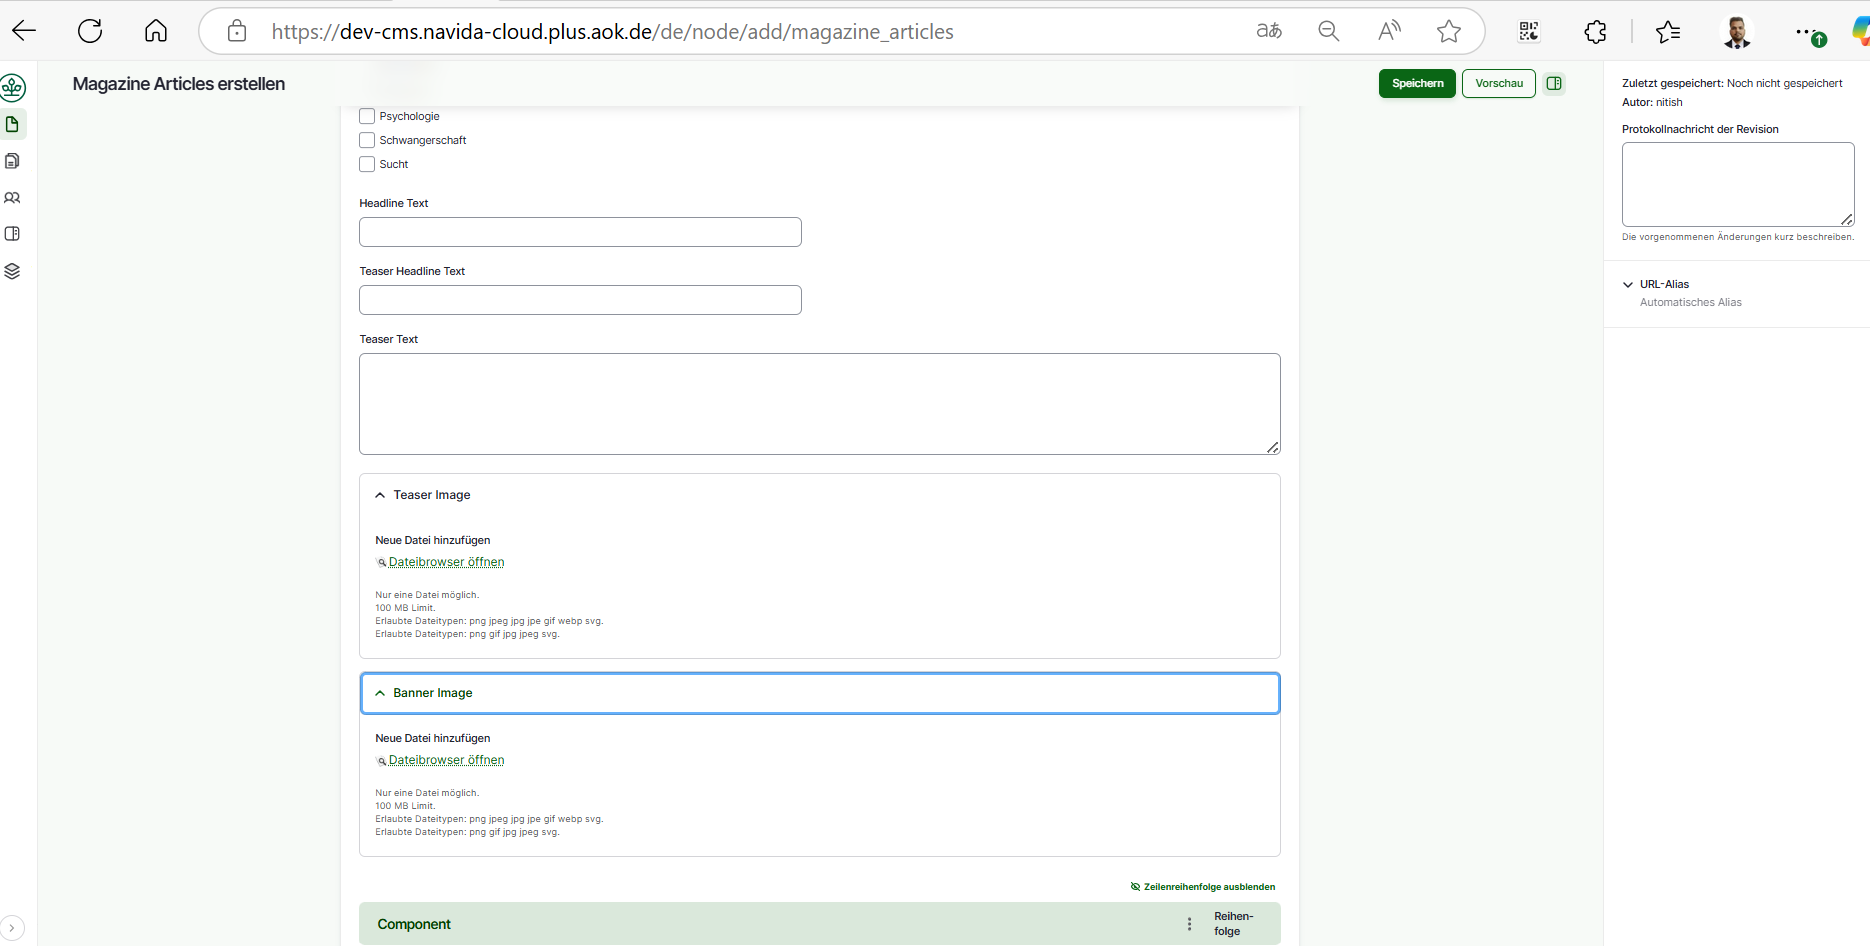
- Enter 'Headline Text'.
- Enter 'Teaser Headline Text'.
- Enter 'Teaser Text', short description for the article.
- Upload 'Teaser Image' Click on 'Dateibrowser öffnen (File Browser)' it will open IMCE file browser, upload image and click on 'Auswahlen (Select)' it will add 'Teaser Image'.
- Upload 'Banner Image' Click on 'Dateibrowser öffnen (File Browser)' it will open IMCE file browser, upload image and click on 'Auswahlen (Select)' it will add 'Banner Image'.
Add Copmponents
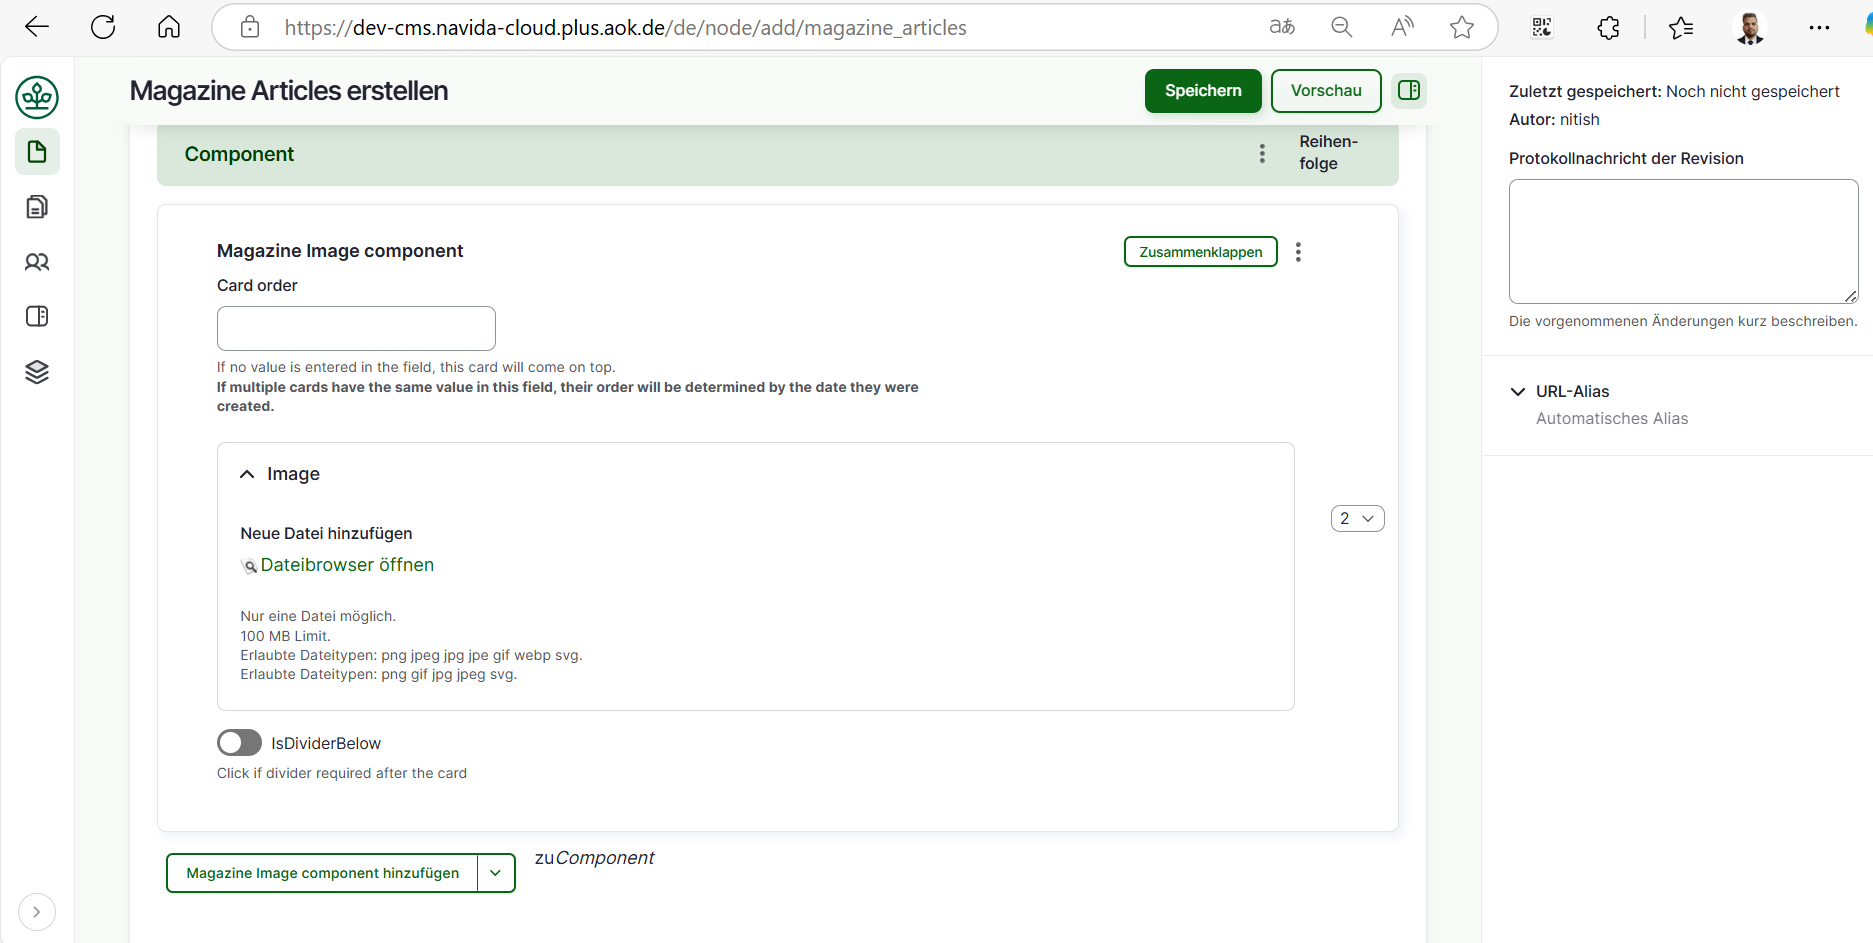
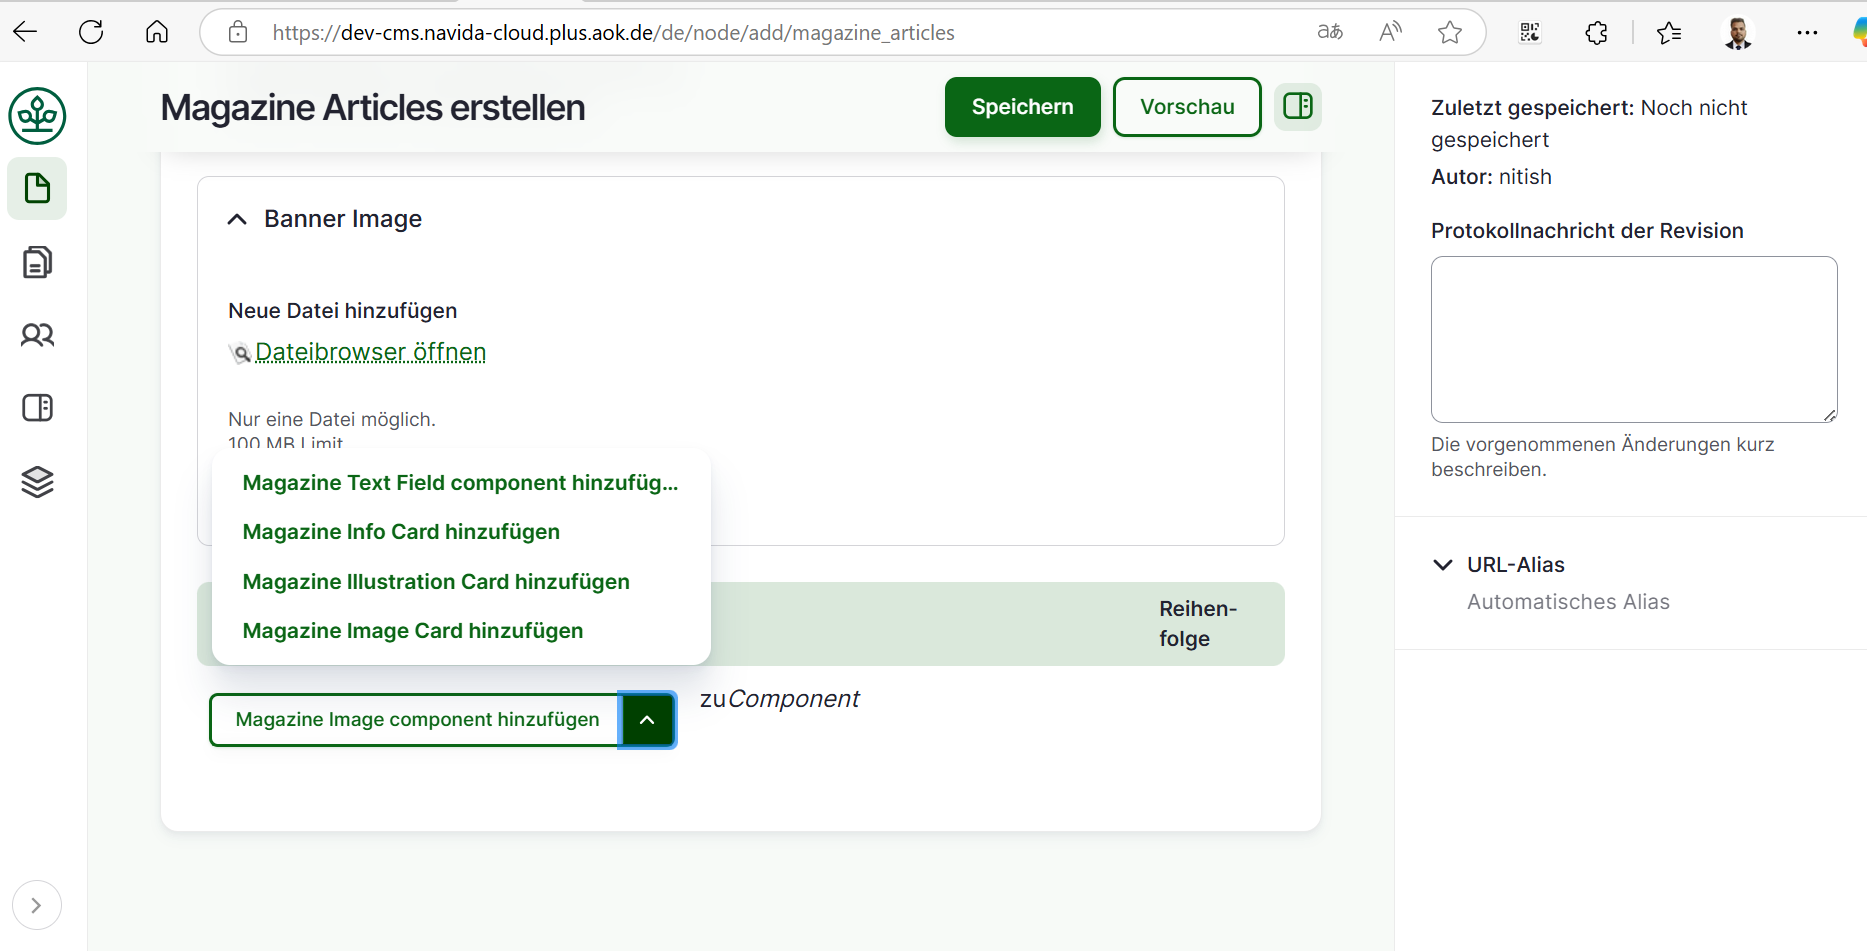 11. Click on 'Magazine Image Component Hinzufugen' to add Image & Text component.
12. Add card order in which the coard should be displayed in the article.
13. Upload 'Image' Click on 'Dateibrowser öffnen (File Browser)' it will open IMCE file browser, upload image and click on 'Auswahlen (Select)' it will add 'Image' for image component. Add 'Title' information to display text for the image.
14. Click on 'isDividerBelow' if you want a divider line after the card.
11. Click on 'Magazine Image Component Hinzufugen' to add Image & Text component.
12. Add card order in which the coard should be displayed in the article.
13. Upload 'Image' Click on 'Dateibrowser öffnen (File Browser)' it will open IMCE file browser, upload image and click on 'Auswahlen (Select)' it will add 'Image' for image component. Add 'Title' information to display text for the image.
14. Click on 'isDividerBelow' if you want a divider line after the card.
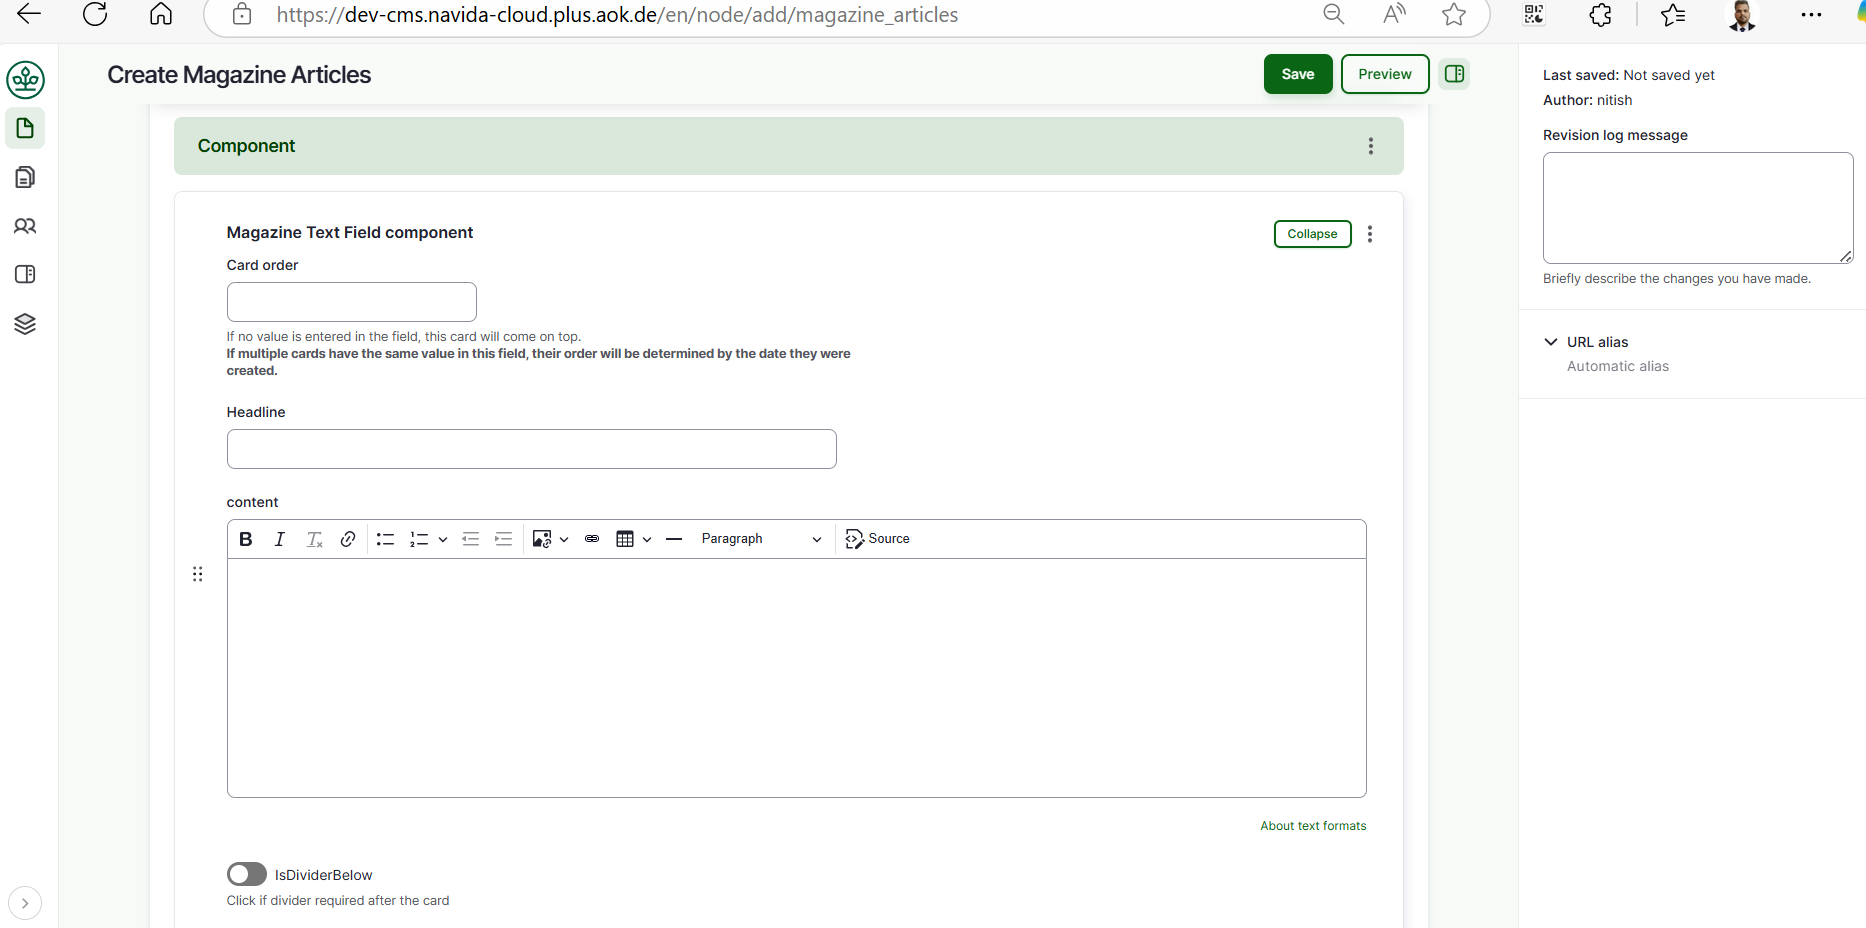
 14. To add 'Text Field Component' click on 'zuComponent' it will open the option to select text component. Click on 'Magazine Text Field Component' .
15. Add card order in which the coard should be displayed in the article.
16. Enter 'Headline'.
17. Enter 'content', this is rich text field can accept html tags.
18. Click on 'isDividerBelow' if you want a divider line after the card.
14. To add 'Text Field Component' click on 'zuComponent' it will open the option to select text component. Click on 'Magazine Text Field Component' .
15. Add card order in which the coard should be displayed in the article.
16. Enter 'Headline'.
17. Enter 'content', this is rich text field can accept html tags.
18. Click on 'isDividerBelow' if you want a divider line after the card.
 16. To add 'Magazine Info Card' click on 'zuComponent' it will open the option to select info card. Click on 'Magazine Info Card' .
17. Click on 'Active Card' if the component is active.
18. Add card order in which the coard should be displayed in the article.
19. Add 'valid From' and 'valid To' to set a timeslot in which it should be displayed.
Note: 'Valid To' should be always greater then 'Valid From'.
20. open the icon tab and click on 'Show Icon' if you want to show icon,select the 'Icon size' from the list.
21. Add 'Icon Image' click on 'Dateibrowser öffnen (open file browser)' -> select image from the right section list of images -> click on 'Auswahlen (Select)' it will add image. (Please upload image in Files Server first and then select, do not upload image directly. Plese refer ImceFilesServer documentation for more information about how to upload images to CMS)
16. To add 'Magazine Info Card' click on 'zuComponent' it will open the option to select info card. Click on 'Magazine Info Card' .
17. Click on 'Active Card' if the component is active.
18. Add card order in which the coard should be displayed in the article.
19. Add 'valid From' and 'valid To' to set a timeslot in which it should be displayed.
Note: 'Valid To' should be always greater then 'Valid From'.
20. open the icon tab and click on 'Show Icon' if you want to show icon,select the 'Icon size' from the list.
21. Add 'Icon Image' click on 'Dateibrowser öffnen (open file browser)' -> select image from the right section list of images -> click on 'Auswahlen (Select)' it will add image. (Please upload image in Files Server first and then select, do not upload image directly. Plese refer ImceFilesServer documentation for more information about how to upload images to CMS)
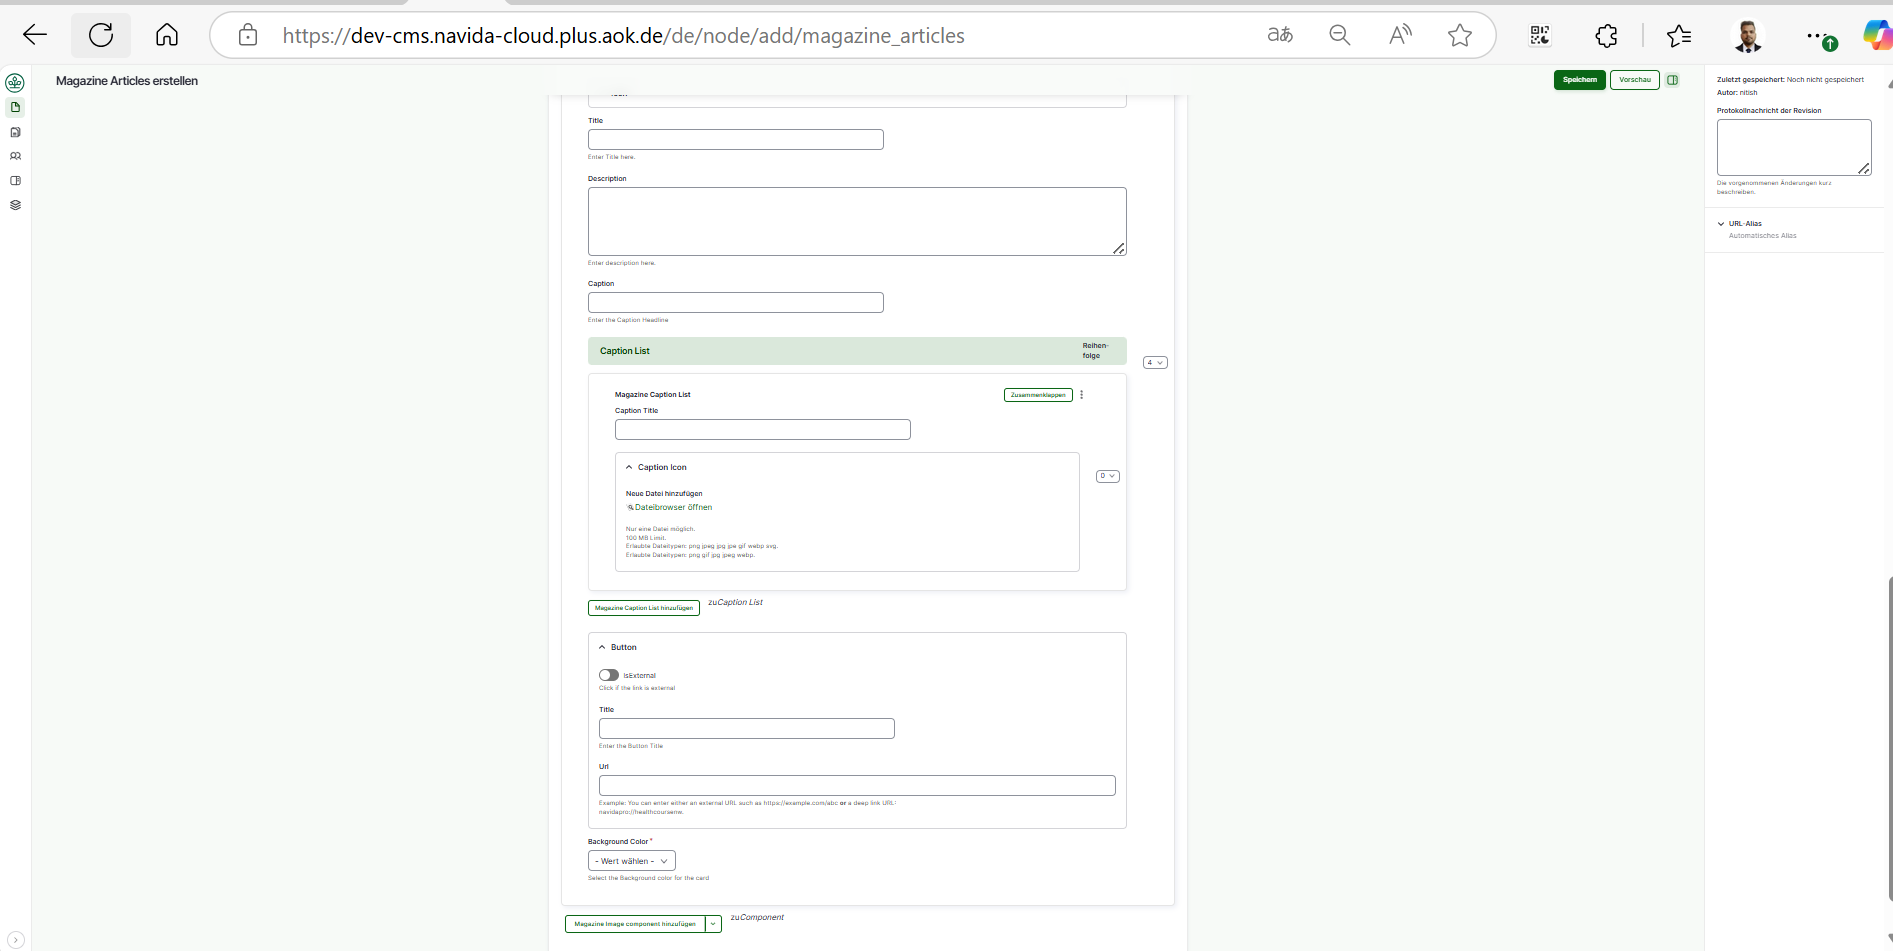
 22. Add 'Title','Description' and 'Caption' for the component.
23. Click on Add 'Magazine Caption List' to add caption list for the card . Add 'Title' and 'Caption Icon' for each caption list.
Note: The process of adding 'Caption Icon' is same as 'Icon Image' please follow step 21.
Note: 'Caption list' is only available if 'Icon Size' is selected as small.
24. Under 'Button' section . Click on 'isExternal' if the button is external , Add the button title in 'Title' and add url under 'URL'.
25. Add background color form the list in 'Background Color'
22. Add 'Title','Description' and 'Caption' for the component.
23. Click on Add 'Magazine Caption List' to add caption list for the card . Add 'Title' and 'Caption Icon' for each caption list.
Note: The process of adding 'Caption Icon' is same as 'Icon Image' please follow step 21.
Note: 'Caption list' is only available if 'Icon Size' is selected as small.
24. Under 'Button' section . Click on 'isExternal' if the button is external , Add the button title in 'Title' and add url under 'URL'.
25. Add background color form the list in 'Background Color'
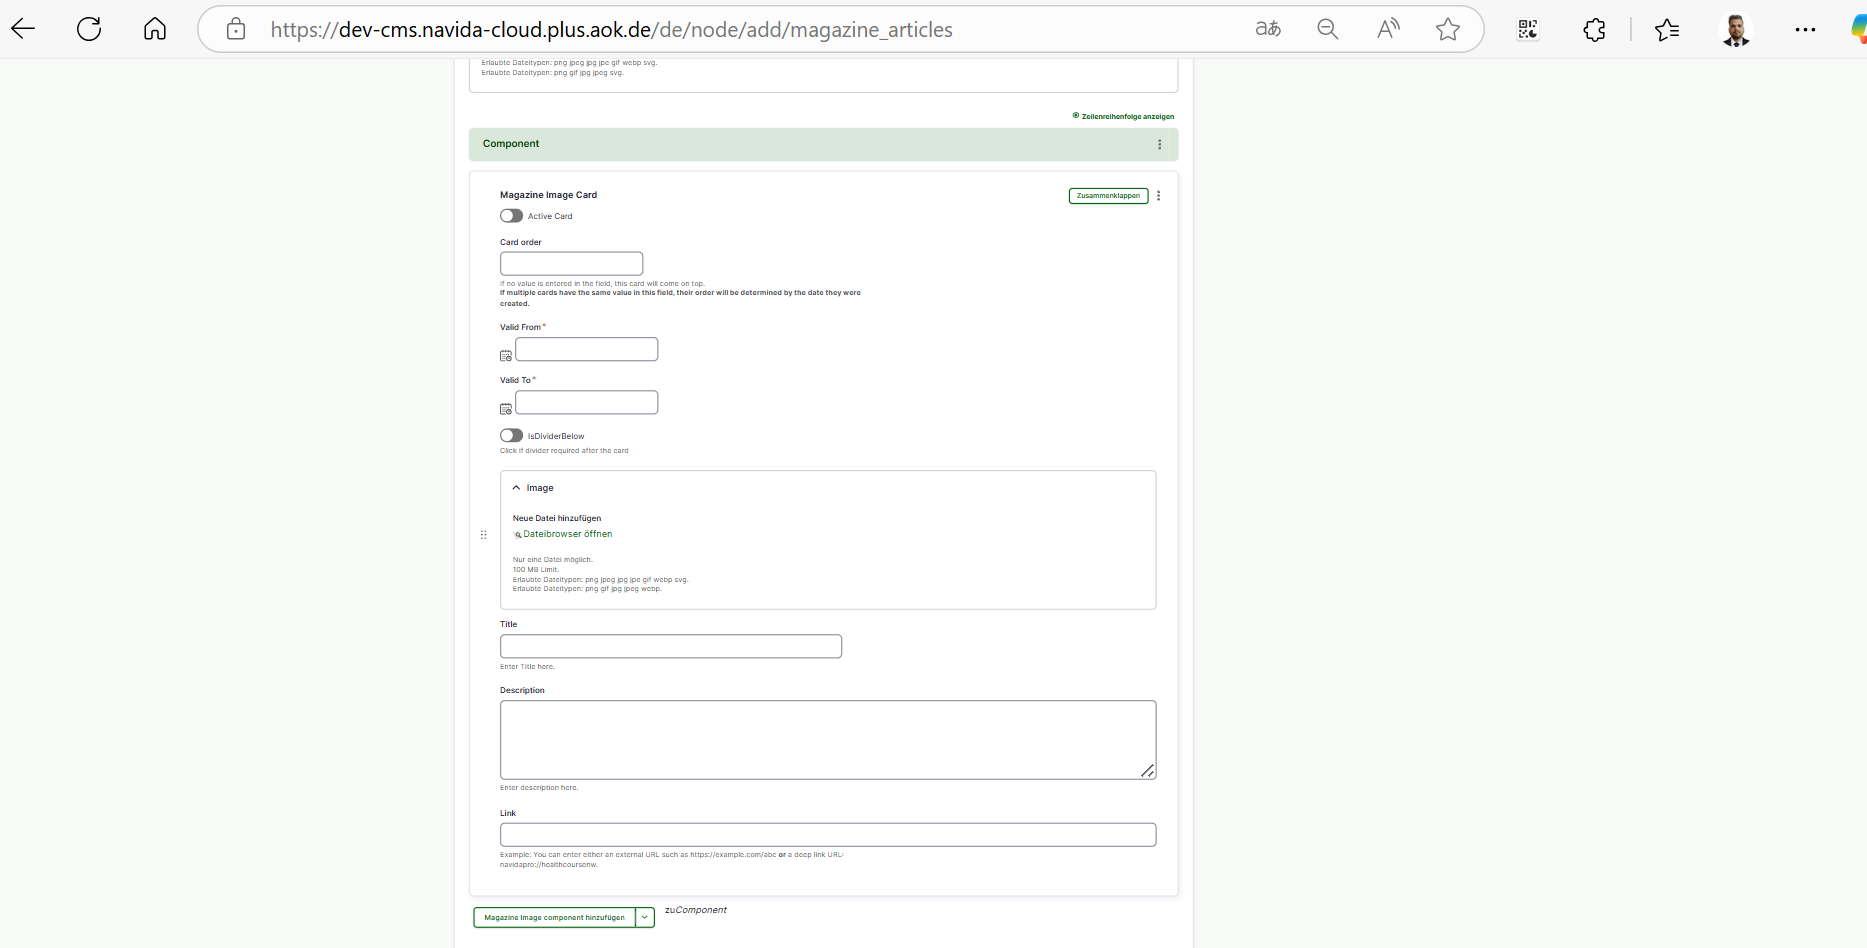
 26. To add 'Magazine Image Card' click on 'zuComponent' it will open the option to select info card. Click on 'Magazine Image Card' .
27. Add card order in which the coard should be displayed in the article.
28. Add 'valid From' and 'valid To' to set a timeslot in which it should be displayed.
Note: 'Valid To' should be always greater then 'Valid From'.
29. Click on 'isDividerBelow' if you want a divider line after the card.
30. Add Image' click on 'Dateibrowser öffnen (open file browser)' -> select image from the right section list of images -> click on 'Auswahlen (Select)' it will add image. (Please upload image in Files Server first and then select, do not upload image directly. Plese refer ImceFilesServer documentation for more information about how to upload images to CMS)
31. Add 'Title','Description' and 'Link' for the component.
26. To add 'Magazine Image Card' click on 'zuComponent' it will open the option to select info card. Click on 'Magazine Image Card' .
27. Add card order in which the coard should be displayed in the article.
28. Add 'valid From' and 'valid To' to set a timeslot in which it should be displayed.
Note: 'Valid To' should be always greater then 'Valid From'.
29. Click on 'isDividerBelow' if you want a divider line after the card.
30. Add Image' click on 'Dateibrowser öffnen (open file browser)' -> select image from the right section list of images -> click on 'Auswahlen (Select)' it will add image. (Please upload image in Files Server first and then select, do not upload image directly. Plese refer ImceFilesServer documentation for more information about how to upload images to CMS)
31. Add 'Title','Description' and 'Link' for the component.
 32. To add 'Magazine Illustration Card' click on 'zuComponent' it will open the option to select info card. Click on 'Magazine Illustration Card' .
33. Add card order in which the coard should be displayed in the article.
34. Add 'valid From' and 'valid To' to set a timeslot in which it should be displayed.
Note: 'Valid To' should be always greater then 'Valid From'.
35. Click on 'isDividerBelow' if you want a divider line after the card.
32. To add 'Magazine Illustration Card' click on 'zuComponent' it will open the option to select info card. Click on 'Magazine Illustration Card' .
33. Add card order in which the coard should be displayed in the article.
34. Add 'valid From' and 'valid To' to set a timeslot in which it should be displayed.
Note: 'Valid To' should be always greater then 'Valid From'.
35. Click on 'isDividerBelow' if you want a divider line after the card.
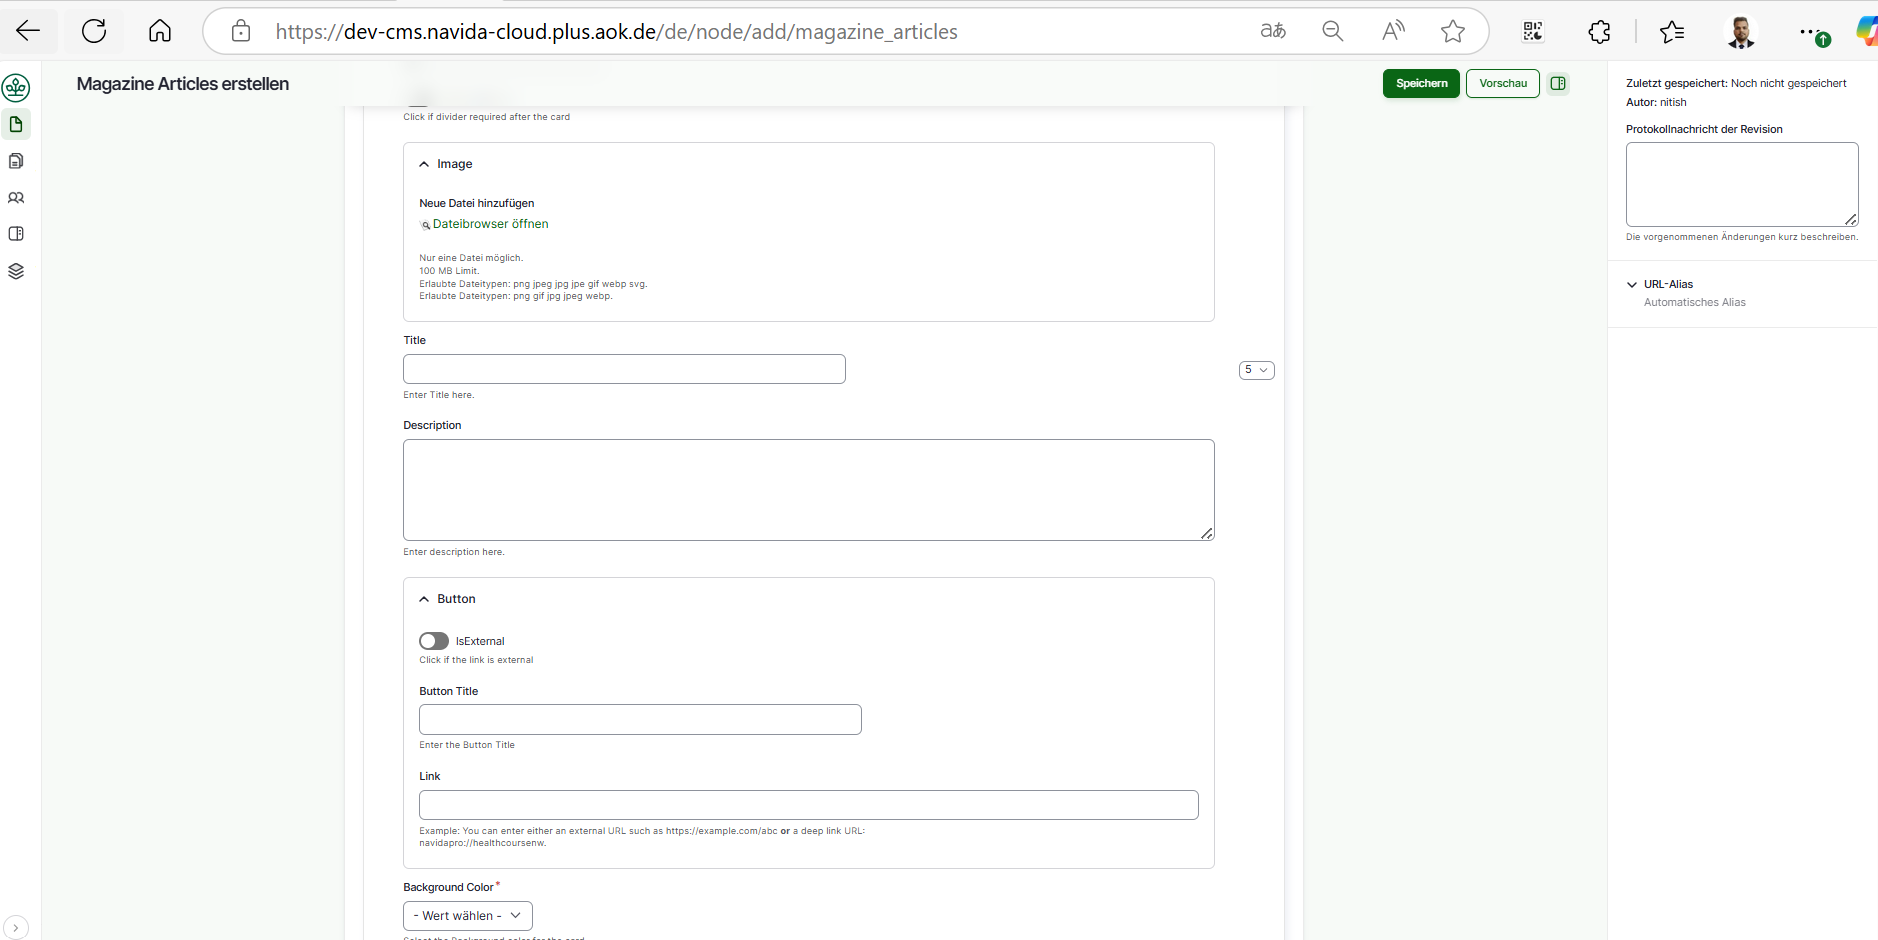
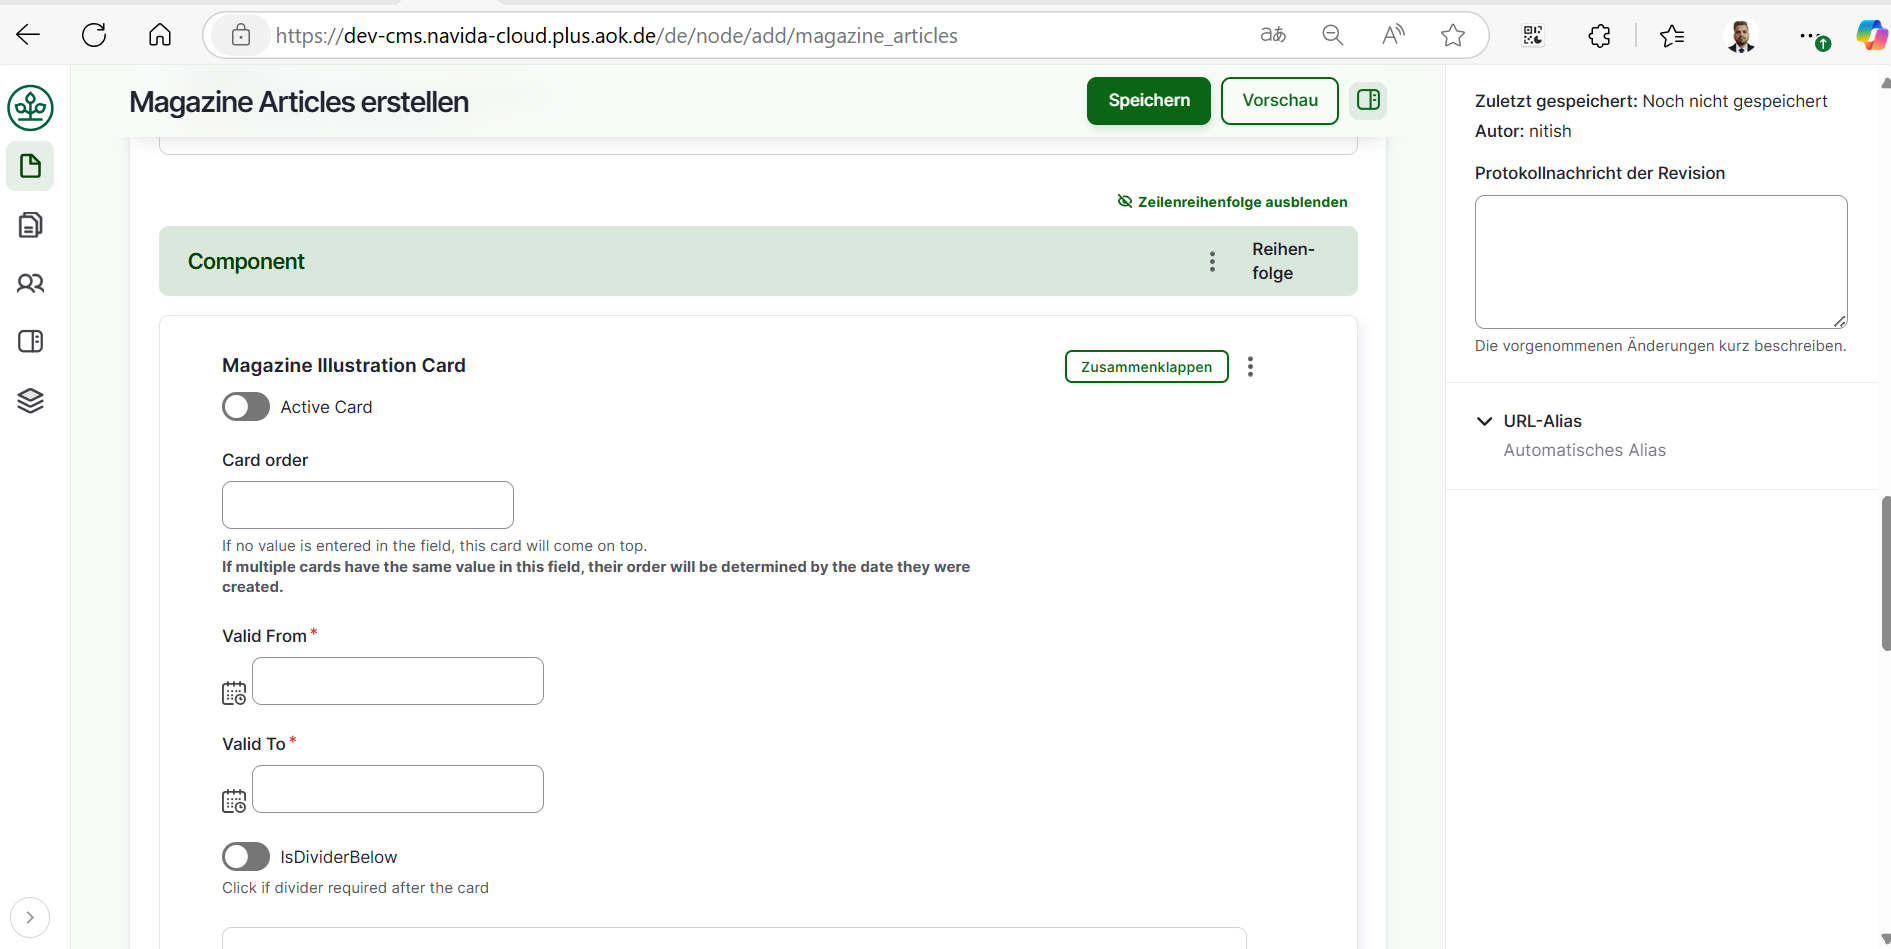 36. Add Image' click on 'Dateibrowser öffnen (open file browser)' -> select image from the right section list of images -> click on 'Auswahlen (Select)' it will add image. (Please upload image in Files Server first and then select, do not upload image directly. Plese refer ImceFilesServer documentation for more information about how to upload images to CMS)
37. Add 'Title' and 'Description' for the component.
38. Under 'Button' section . Click on 'isExternal' if the button is external , Add the button title in 'Title' and add url under 'URL'.
39. Add background color form the list in 'Background Color'
40. Click on Speichern (Published) button at bottom to save the page.
36. Add Image' click on 'Dateibrowser öffnen (open file browser)' -> select image from the right section list of images -> click on 'Auswahlen (Select)' it will add image. (Please upload image in Files Server first and then select, do not upload image directly. Plese refer ImceFilesServer documentation for more information about how to upload images to CMS)
37. Add 'Title' and 'Description' for the component.
38. Under 'Button' section . Click on 'isExternal' if the button is external , Add the button title in 'Title' and add url under 'URL'.
39. Add background color form the list in 'Background Color'
40. Click on Speichern (Published) button at bottom to save the page.
Edit Magazine Articles Page
To edit Magazine Articles pages follow given steps,
- Click on 'Inhalt(content)'.
- Choose the Magazine Articles page to edit (check if Inhaltstype is 'Magazine Articles') -> Click on 'Bearbeiten(Edit)' button at right side respective at Titel column.
- Edit the page, after editing please make sure 'Vröffentlicht(published)' is chcked.
- Click on 'Speichern(Save)' button.
Unpublish or Remove Magazine from APP
To remove or unpublish or hide a magazine in the app, follow below steps.
- Click on 'Inhalt(content)'.
- Choose the magazine articles page to edit (check if Inhaltstype is 'Magazine Articles') -> Click on 'Bearbeiten(Edit)' button at right side respective at Titel column.
- Edit the page, and update the "Is Active" checkbox.
- For Published motivation, the checkbox must be Ticked like shown below
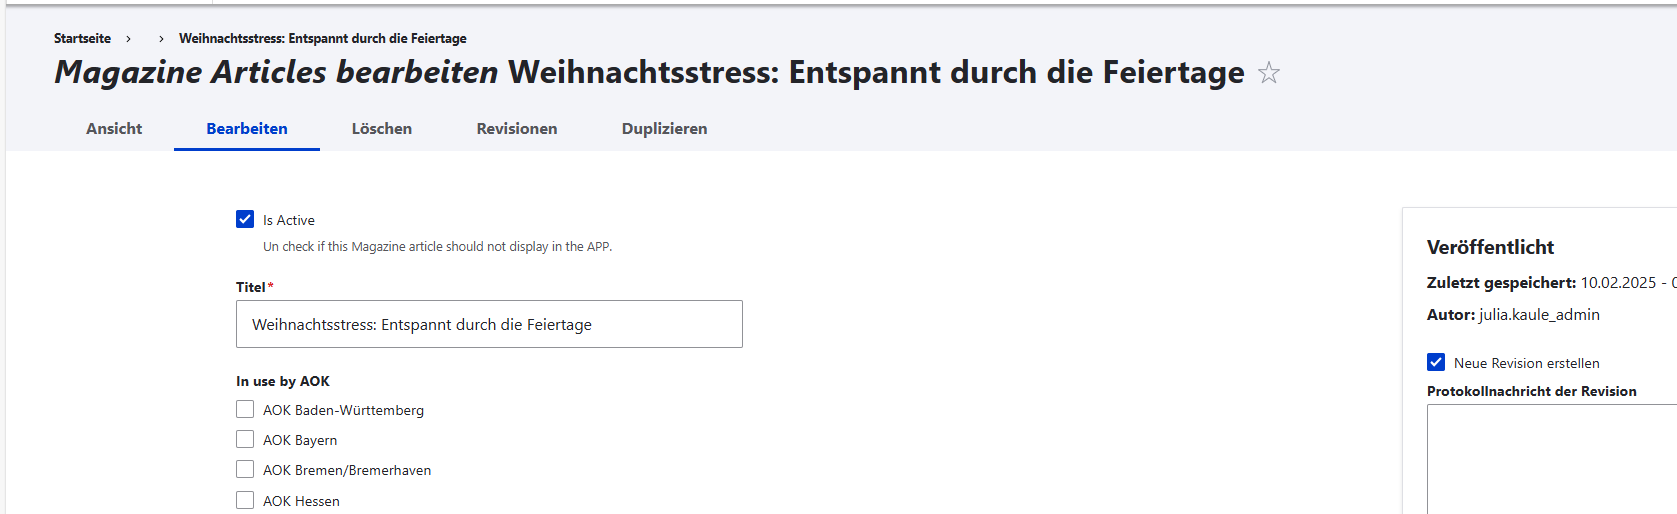
- To unpublish or hide, the checkbox must not be ticked, like shown below

- Click on 'Speichern(Save)' button.